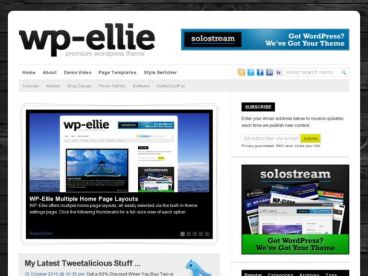
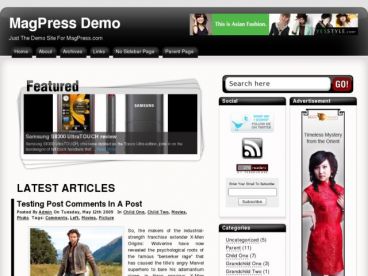
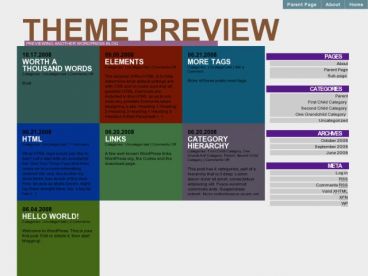
wpPhotographer WordPress Theme By Anonymous, Theme Type: Blogging, Minimal, Multi-Purpose, Photography, Travel , free trial: coming soon
The WP Photographer Theme is an extremely simple yet elegant approach to showcasing your images. It’s the best photography and photo WordPress theme ever (or at least we think so…)!
The idea behind the obviously-minimalistic styling is so that you can design around it. Add a background or color to give it personal flair. Throw up your own logo for an easy character upgrade. Whether you use it straight out of the box or customize it, it is the perfect solution to feature your images.
It’s only limited by your own creative imagination.
A Blog + Featured Carousel = Awesomeness
The point, of course, is to put your photography skills front and center, highlighting some of the very best shots in a nice carousel while providing the effective use of a full-width blog layout for documenting your travels, experiences, and client-work.
Perhaps the best part is the fact that it’s all built on one easy-to-use system leveraging WordPress and it’s intrinsic SEO-friendly capabilities for maximum exposure. There’s really nothing quite like the effectiveness of a well-updated blog for search engines!
So there you have it! A great way to present your standout images to clients as well as a blog to tell stories about the snapshots you capture.
 Instructions For Use:
Using the WP Photographer Theme is super easy! There are 4 things you’ll want to know:
Step 1:
To put images in the homepage carousel you simply need to upload the image (980 pixels wide by 600 pixels tall is the max) into a blog post and make sure it’s in the category “Featured“.
The regular blog post area is just a bit smaller with a max size of 900 pixels.
You do not have to actually put the image in the Featured blog post itself; the minimum requirement is just uploading the image and then publishing.
You can have up to 16 images on the front page. If you add more it’ll kick the oldest ones out of the carousel. No need to modify old posts!
Step 2:
Make sure that any post that’s not going on the front page (or in other words, any posts that aren’t in the “Featured” category) are put in an “All Posts” category in addition to any other categories you will add. This let’s your visitors browse all your blog posts easily:

Step 3:
To get some pretty permalinks (better for search engine optimization) you’ll want to do something like the following in your permalink settings:

Step 4:
Make sure you upload and activate the WP Page-Navi Plugin provided with the theme files. The version that comes with the them is slightly modified, so just be careful when you upgrade it in the future!
Bonus Step 5:
On this site and demo I’m using the extremely useful and awesome Disqus Commenting System, which provides much more utility than the out-of-the-box WordPress commenting system. It’s some serious goodness and it’ll only take a few seconds to sign up, grab the plugin, and activate.
That’s it!
Purchase for $79.00 $39.00 $19.00
Boy Now
Open the purchase page, click the footer of the About and Purchase url to purchase

 Instructions For Use:


1 Comment. Leave new
thank’s